How To Guide: Installing an anti-warp under-door profile for an ECLISSE UK Pocket Door System
Posted by Kevin Stanley on 3rd Apr 2023
This job should be easily achievable by a competent DIYer. However, as this job requires the use of a router, we recommend that you are experienced in the use of this type of power tool before you begin. We would not recommend that you attempt this job for the first time without prior experience of using such a tool.
This guide should be used to supplement prior experience or knowledge. It is designed to guide you in how to successfully route out a channel, and to fit an anti-warp under-door profile to a door for use with an ECLISSE UK Pocket Door System.
ECLISSE UK Pocket Door System require the fitment of an anti-warp profile to the bottom of the door that facilitates smooth running. The device fits into a routed channel on the underside of the door and slides on a spigot on the floor guide to ensure that even if the door warps over time, due to age or environmental changes, the profile won’t warp and the pocket door will continue to function smoothly.

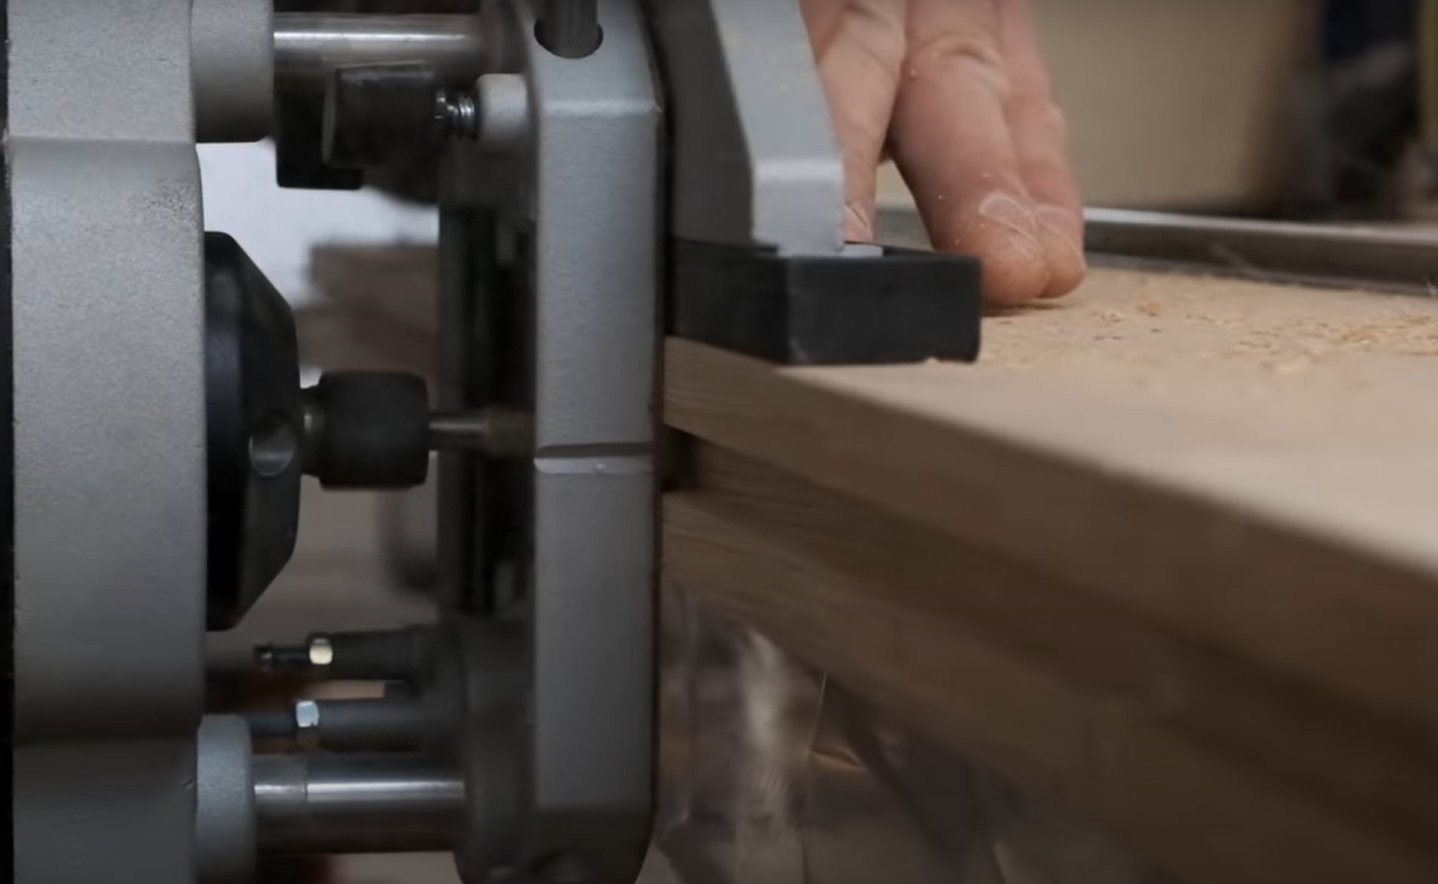
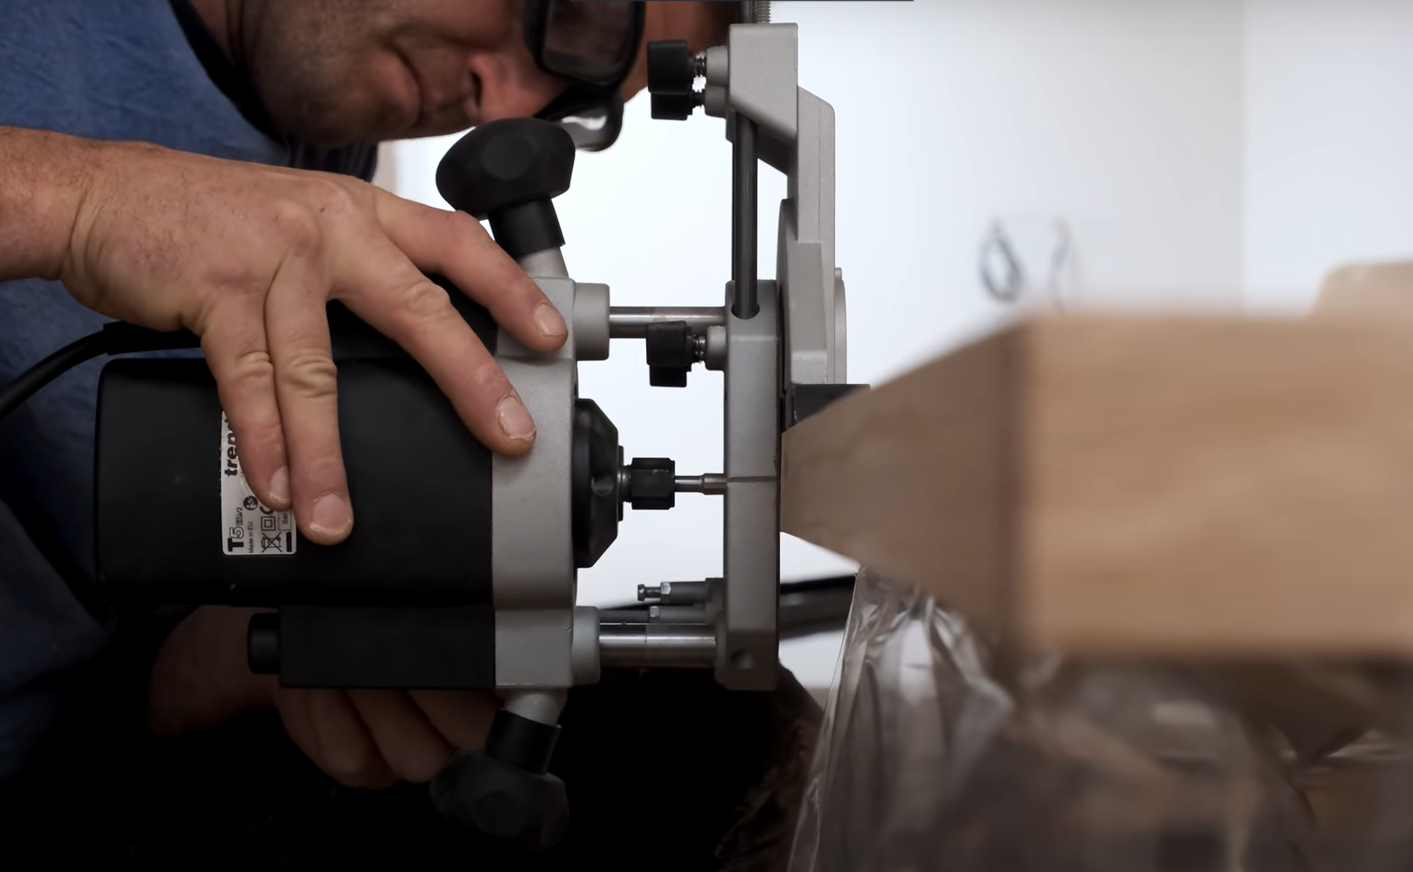
As your door is unlikely to arrive with a channel at the bottom routed out, you will need to use a router with a 10mm straight cut router bit and fence guard to make this channel.
Making the channel for the anti-warp under-door profile
1. Cut out the anti-warp under-door profile to 10mm longer than the door width.
Example: If your door width is 762mm then your under-door profile needs to be cut down to 772mm.
2. Route a channel 10mm wide x 17mm deep into the bottom of the door.
Note: Start from the rear of the door and stop 5mm from the front edge of the door so you can’t see this rebate.
Note: With some systems, if you intend to have the door flush back into the pocket when open you will need to continue this rebate through the last 5mm. This, however, will result in the rebate being visible from the leading edge of the door.
 Fitting the anti-warp under-door profile
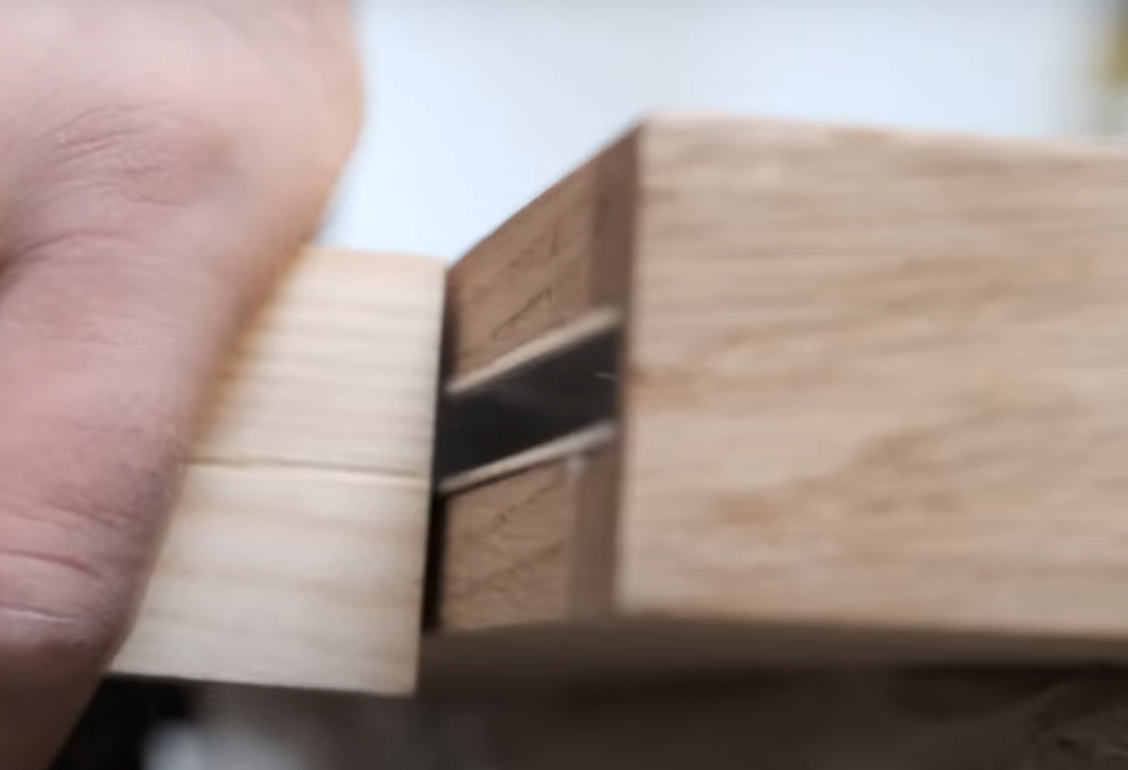
1. The under-door profile ‘friction-fit’ so you can simply push it into place.
2. To ensure it is fully seated, tap it home with a soft mallet.
Top Tip: If you do not have a soft mallet, you can use a normal hammer with a piece of soft wood as a buffer.
3. You could also help to fix it into place with a small bead of silicone if necessary.
Note: Take care to avoid damaging the profile when seating it.
4. If seated correctly, the under-door profile should protrude 15mm at the rear of the door.

For a visual demonstration of how to install an anti-warp under-door
profile, watch our instructional video here: https://www.youtube.com/watch?v=RFWG0WFedOs
Photo credit: YouTube @BuildwithAE


