


How To Guide: How to correctly install door jambs for an ECLISSE UK Pocket Door System
Posted by Kevin Stanley on 2nd Oct 2023
ECLISSE UK Pocket Door Systems require finishing with architrave. But underneath the decorative finish of the architrave a jamb kit (a door lining kit) must be installed.
ECLISSE UK offers jamb kits, specifically designed for this purpose. Architrave is usually matched to other doors in a property and therefore is best sourced separately, and for this reason, this is something that we do not supply.
Note: The exception to the rule is the ECLISSE UK Syntesis Flush range of pocket doors, which do not require finishing with decorative architrave and therefore do not require a jamb kit.
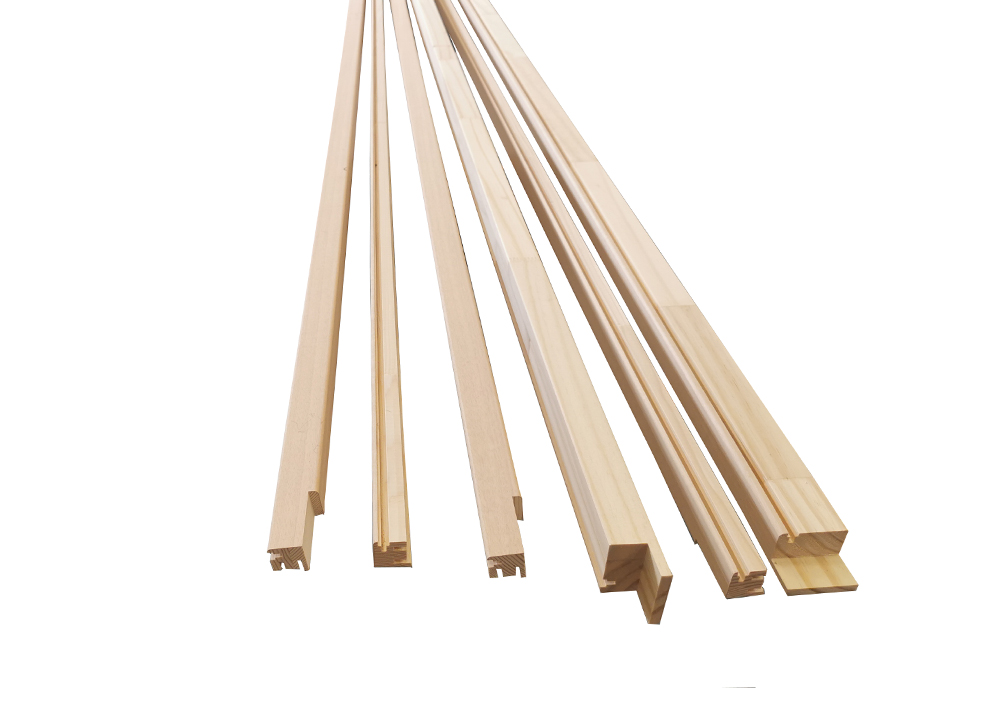
The jamb kit is attached to the pocket door framework that covers the edges of the door when it is closed so you cannot see the top of the door, or into the pocket. The jambs are made from finger jointed wood with an unfinished beechwood veneer that is ready to paint, stain or lacquer.
Why is the jamb kit important?
The jamb kit gives the pocket door a professional finish
The brushes protect the pocket, as well as stopping you from being able to see into the pocket
The recessed door post means that the door will slide into the recess and so you will not be able to see any light through the narrow opening at the edge of the door when it is shut
The tiny rubber bumpers reduce the sound of the door closing, making it quieter.
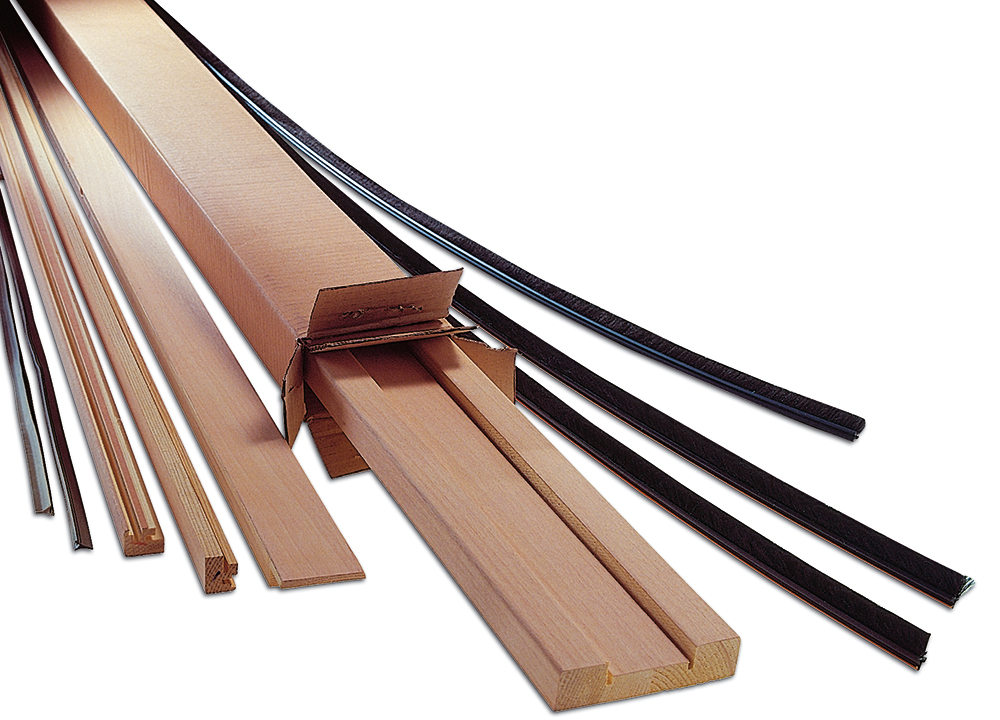
The jamb kit is made up of:
1 x top horizontal header pieces (A) – supplied as one length, to be cut into two, and trimmed to size as required
2 x pocket entrance verticals (B) – one for each side of the pocket entrance, left hand and right hand
1 x recessed doorpost (C) – supplied only for the single pocket door system
Brushes and rubber bumpers – pull apart to create two strips of bumpers.
Note: we
supply you two sets of brushes - 15mm and 10mm - to cope with both 35mm and
44mm thick doors.
The jamb kit for a single door
This includes a recessed doorpost. There are five versions of this jamb kit. 95mm, 100mm, 115mm, 125mm and 140mm finished wall thickness. You will be asked to specify which you require when ordering your single pocket door frame.
The jamb kit for a double door
Double pocket doors do not require a door post so the jamb kit for the double pocket door system is slightly different.
Note: As with the classic single there are five options of finished wall thickness.
Framework
The framework can be assembled to suit a couple of finished wall thicknesses (one frame for 100mm and 125mm and another frame for 95mm, 115mm and 140mm) However, the jamb kit and supplied jamb kit is specific to the finished wall thickness you select. Due to this you must determine the size of your jamb and assemble the frame accordingly – there will be a sticker on the box that the jamb comes in, or on the delivery document stating size.
Top Tip: Before you begin your install, we suggest that you prime and paint your jambs before you install them. The primer will seal the jambs and stop them from absorbing moisture, which may cause them to warp. This is especially important if the system is being fitted in a moisture heavy area such as a bathroom or ensuite.
For a single door system:
1) To install the door post (C), first measure the height from the underside of the top beam (E) to the finished floor level and then cut the door post to height at the bottom.
2) Place it into position.
3) Attach it to the metal doorpost by drilling four pairs of holes equidistant along its length through the recess for the rubber bumpers.
4) Ensure that you pre drill the holes. Even small screws can split timber, so be careful.
5) Countersink these holes and screw the wooden doorpost into place. Detach the rubber bumpers and insert each length into the recesses.
6) Cut the pocket entrance verticals to size. Measure from (E) down to the finished floor level. Cut them at the bottom, as there is a rebate at the top. Notch the bottom for the floor guide posts as shown in the instructions.
7) Attach
the timber pocket entrance verticals to the steel frame, put a bead of silicone
down the back of the jamb where the rebate is and then push it onto the nib.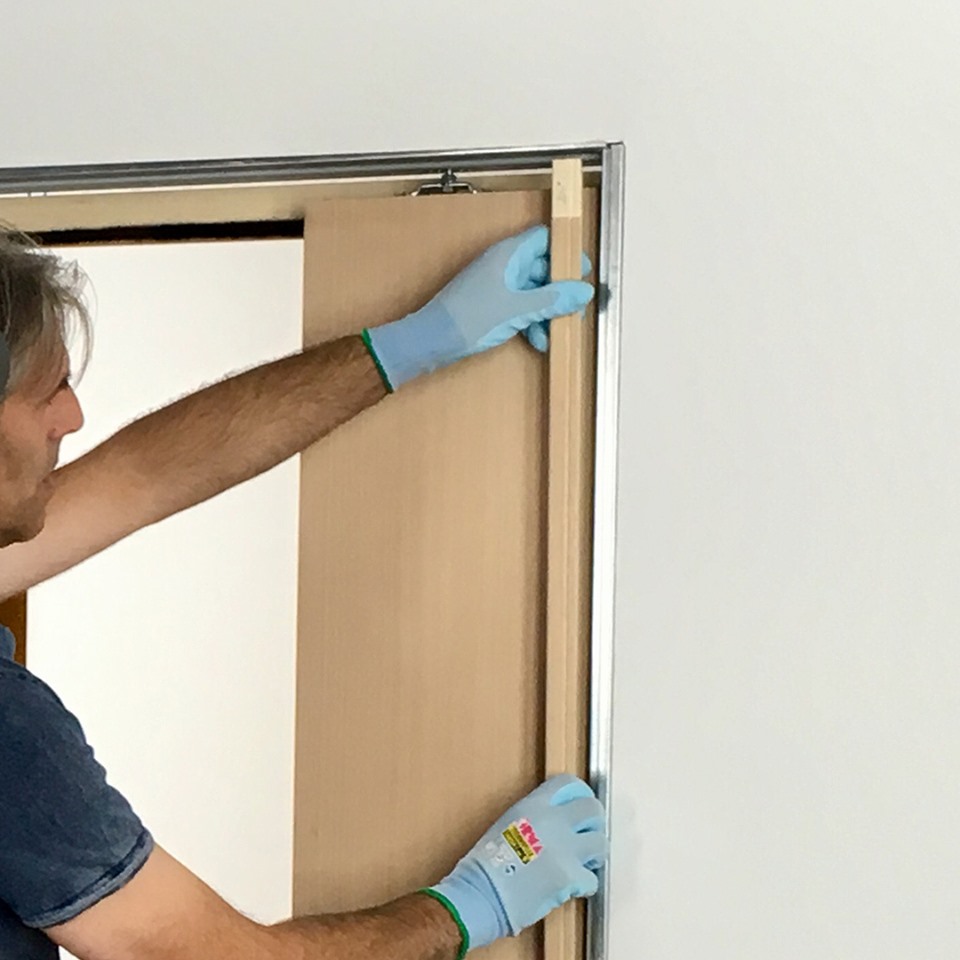
8) This should fit nicely and securely into place.
Top Tip: If you find you need a stronger mechanical hold you can use a pair of pillars to grab the tip of the nib on the framework and twist it slightly to create a small kink to widen the nib by around 1mm thereby providing a friction hold when you push the jamb onto it whilst the silicone sets.
1) Cut the head jamb into two pieces, each half will have a ¾ lap rebate on it at one end, with a square cut at the other end.
2) Measure the width of the system from the back of the doorpost to the back of the pocket entrance verticals and mark this onto the horizontal which you can then cut down to size.
3) Secure the head jamb into place with a bead of silicone, sitting it flush up to the underside of the top beam (E).
4) The head jamb has a ¼ lap rebate and a full shoulder joint that it sits on, on the vertical jambs.
5) Before you fit the verticals into place, select the correct brush - 35mm or 44mm – cut them to size and push them into the rebates on the jambs that will face the doors - before you put the jambs into place – otherwise it will be very difficult to get the door into place as it will leave very little space.
6) The outside of the jambs should sit flush with the plasterboard, and you can then fix the architrave.
For a double door system:
This is essentially two classic single doors, placed nose to nose, but without a doorpost. You have four verticals and two horizontals. The process for installation is exactly the same as for a single door system.
For a curved door system:
The jambs come pre-manufactured, with architrave included. There will be no need to cut them down to size as they will be pre-manufactured to suit your chosen system. The process for installation is exactly the same as for a single door system.
For unilateral or telescopic systems:
Unilateral and telescopic systems will have additional finishing components – extra pieces of finishing timber - specific to these types of pocket systems - to augment the standard jamb kit. The process for installation is exactly the same as for a single door system.
For a fire rated door system:
The installation process is, once again, the same as a classic single door system, however with the fire rated system jambs should be screwed into the frame instead of using silicon. Also, instead of brushes intumescent strips must be used which fix into rebates in the jambs with adhesive strips. In the event of a fire, these intumescent strips will expand and seal the gap between the jamb and the door. The screw holes should also be filled with intumescent mastic.
Note: For a fire rated system you must use fire rated plasterboard.
Note: You will also need to use intumescent mastic and intumescent paint in order to make your door fully fire rated. You cannot use an oil based, or water-based paint as this is not fire rated.
